How to Biscuit Joint Using the Makita PJ7000
Posted by Katy | Toolstop on 19th Jul 2021
In this Toolstop guide, we show you how to quickly and easily make biscuit joints with the Makita PJ7000 biscuit jointer. We also discuss the features and benefits of this model.
Making Biscuit Joints with the Makita PJ7000
A biscuit joint is a method of woodworking where two pieces of wood are joined together by inserting small pieces of wood into slots cut into both pieces. The small pieces of wood are called biscuits and are held in place with glue, which in turn causes the wooden biscuit to expand, creating a snug, clean joint. You can find out everything you need to know about biscuit joints in our exclusive guide.
Who should know how to biscuit joint?
Anyone working with wood where the "mechanics" of the join need to be hidden will benefit from using a biscuit jointer. The two pieces of wood are butted together, and the method of joining them – the slots with inserted biscuits – is hidden.Great for anyone looking for clean and tidily joined wood.
In this Toolstop guide, we’ll walk you through the simple process of making a biscuit joint with a biscuit joiner. For the purposes of our demo we’ll be using the Makita PJ7000.
Makita PJ7000 Biscuit Jointer - Here's What you Need to Know
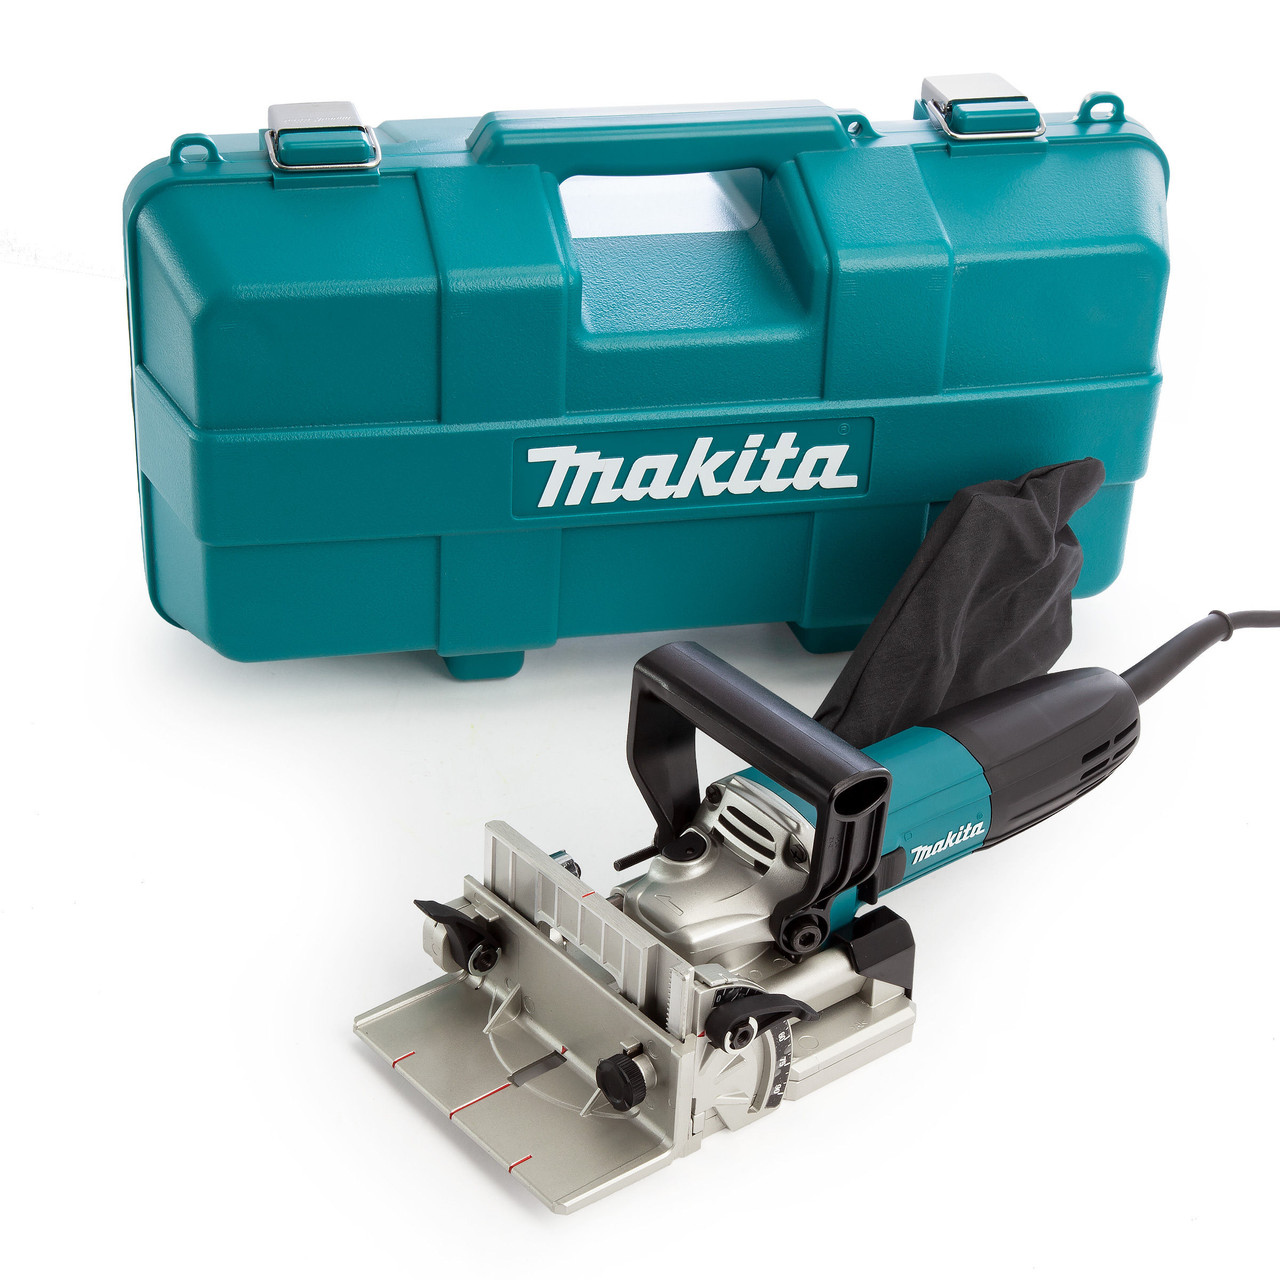
The Makita PJ7000 is a compact and lightweight biscuit jointer with 6 preset cutting depths and a shaft lock for easy blade change. The angle adjustable fence has positive stops at 0º, 45º and 90º for versatile applications and it can be easily connected to a dust extraction system for efficient cleaning during use.
See the specification for this model below:
| Specification: |
|
Blade Diameter: 100mm |
How to Make Biscuit Joints with the PJ7000
To make a biscuit joint with the PJ7000, follow the quick and simple steps below. All of these can be seen in our demo video:
Step 1
Preferably, depending on the material your using, edge and size the two pieces you wish to join so that they’ll fit snugly together.
Step 2
Line both pieces together and mark a pencil line across both. This will determine where the slots will be cut and the biscuits inserted.
Step 3
This step is crucial. Based on the size of biscuit you’re using, you need to set your biscuit joiner’s depth stop accordingly. On the Makita PJ7000, turn the depth adjustment. In our demo we used number 20 biscuits. Therefore, we set the PJ7000’s depth stop to number 20.
Step 4
Adjust the base plate of your biscuit joiner so that it will cut into the centre of your workpiece. As above this is an important step as a centred biscuit join will improve the integrity and strength of the join.
Step 5
Start the cut. As you do so, line up your pencil mark with the red line, as shown in our demo. This will make sure your cut is absolutely centered.
Step 6
Insert the biscuits, one per slot on one of your pieces, with just a dab of wood glue. Then slide both pieces together. Make sure you’ve put a dab of wood glue on the exposed side of the biscuits. This will make sure the biscuit is firmly glued into the slots on both work pieces.
That’s it. Simple, easy and highly effective. Of course it helps if you use a biscuit joiner that performs as well as the Makita PJ7000. If you have any more questions about biscuit jointing, please don't hesistate to get in touch.
Shop Planers & Biscuit Jointers at Toolstop:
Makita PJ7000 700W Biscuit Jointer 100mm (110V)

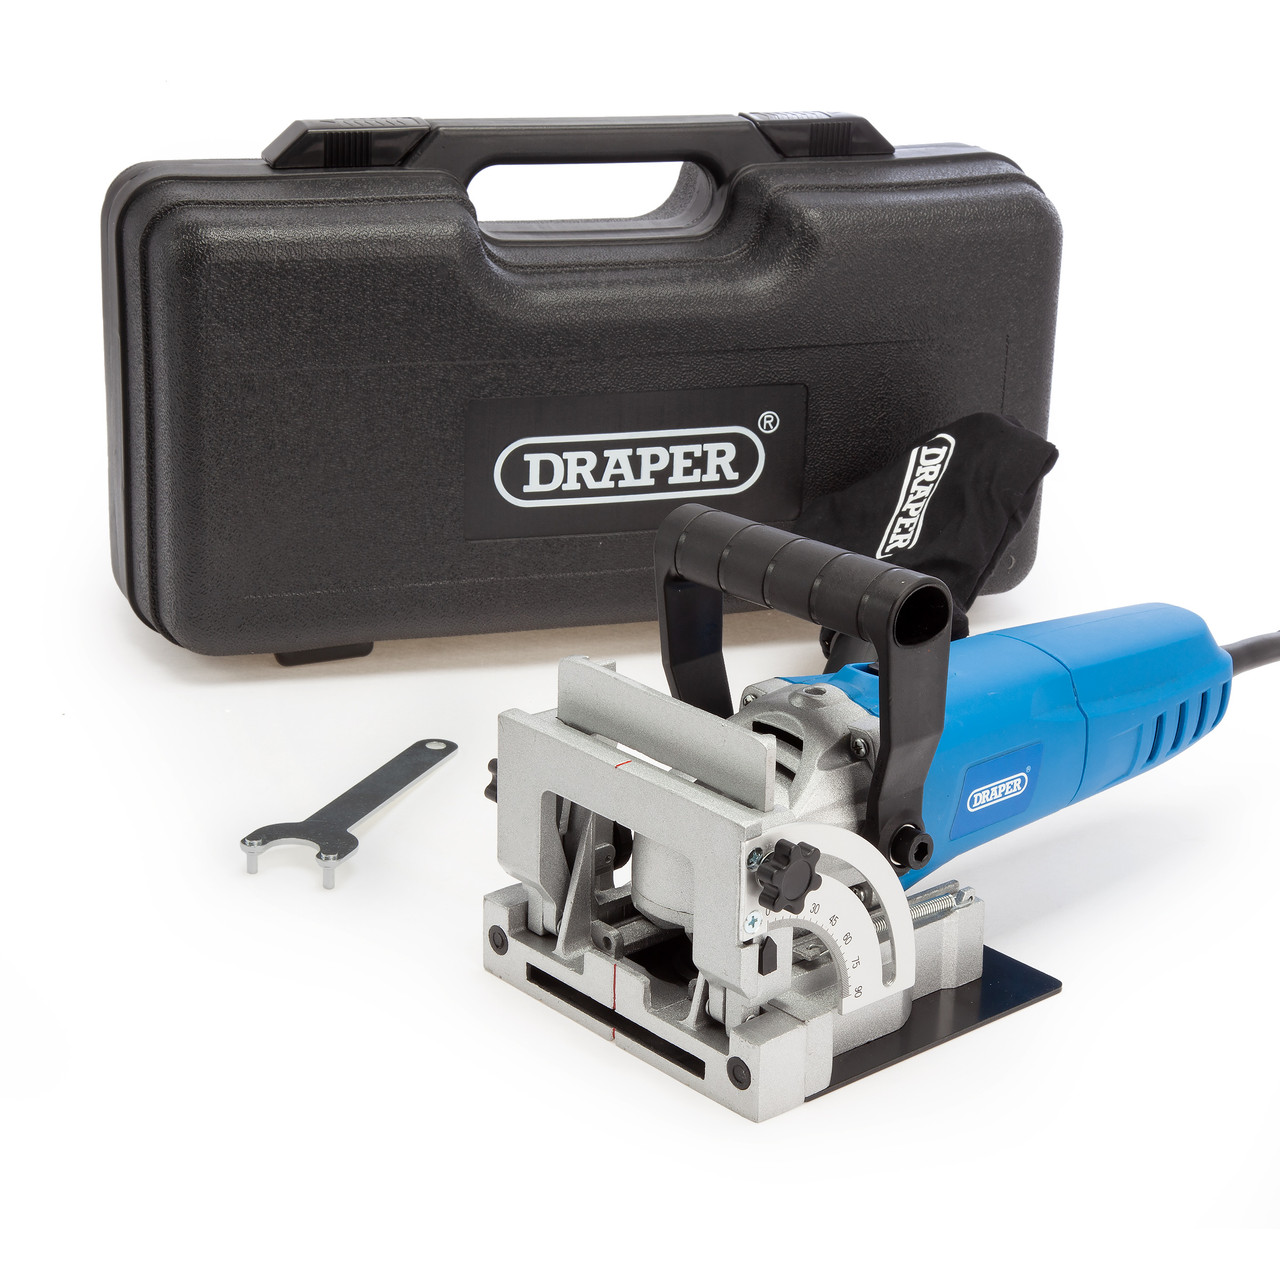
Draper 83611 Storm Force Biscuit Jointer (240V)
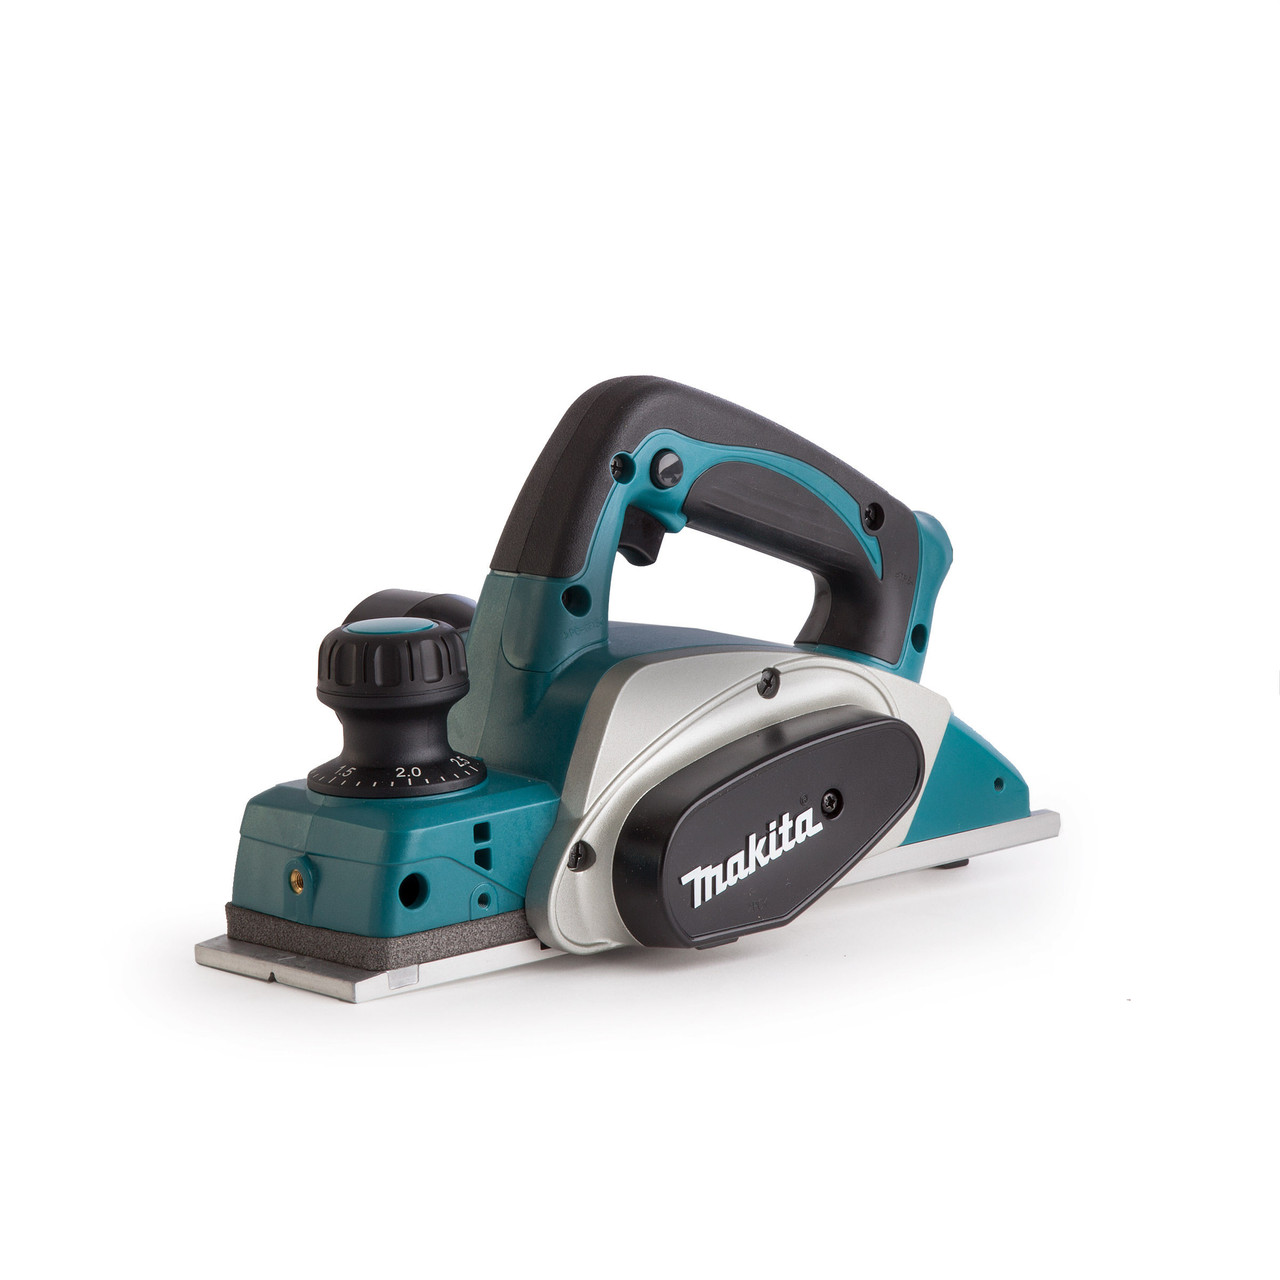
Makita KP0800 620W Planer 82mm (240V)
Makita PJ7000 700W Biscuit Jointer 100mm (240V)